I have seen zipper jewelry for a while now and have really liked them and wanted to make some for myself and I finally did. I have hesitated to make some jewelry with zippers because I didn't want to waste any of them. I fell like they are expensive even though I know they are not. I know they sell one side of a zipper like they do lace but it is even more expensive. One of my Husbands Grandmothers passed away a few months ago and I inherited some of her sewing supplies. In the sewing supplies there were several zippers. I didn't pay for them so I don't feel so bad using them!
Supplies: zipper, glue gun & glue, sewing machine with zipper attachment, Amate Studios ring and bracelet base and a glob on clay.

To start making the flower you will need to take the zipper apart. I did this by cutting across the zipper. Since you will not need the pull and my zipper was extra long I cut the zipper so that I could use part of it on another project. (With the left over piece you can add a few stitched and the bottom to keep it closed.) Take one side of the zipper and make a basting stitch using the zipper foot on your sewing machine. (You can hand stitch this if you don't have a sewing machine.) Leaving long tails of thread.

Pull the bottom thread and start to make the zipper "ruffle."

Using your glue gun add a small dot to one end of the zipper and roll the zipper to make the center of the flower.

Add a little bit of glue and roll the zipper. Keep doing this until the flower is complete. Glue the end of the zipper just slightly under the flower so you don't see unfinished ends.

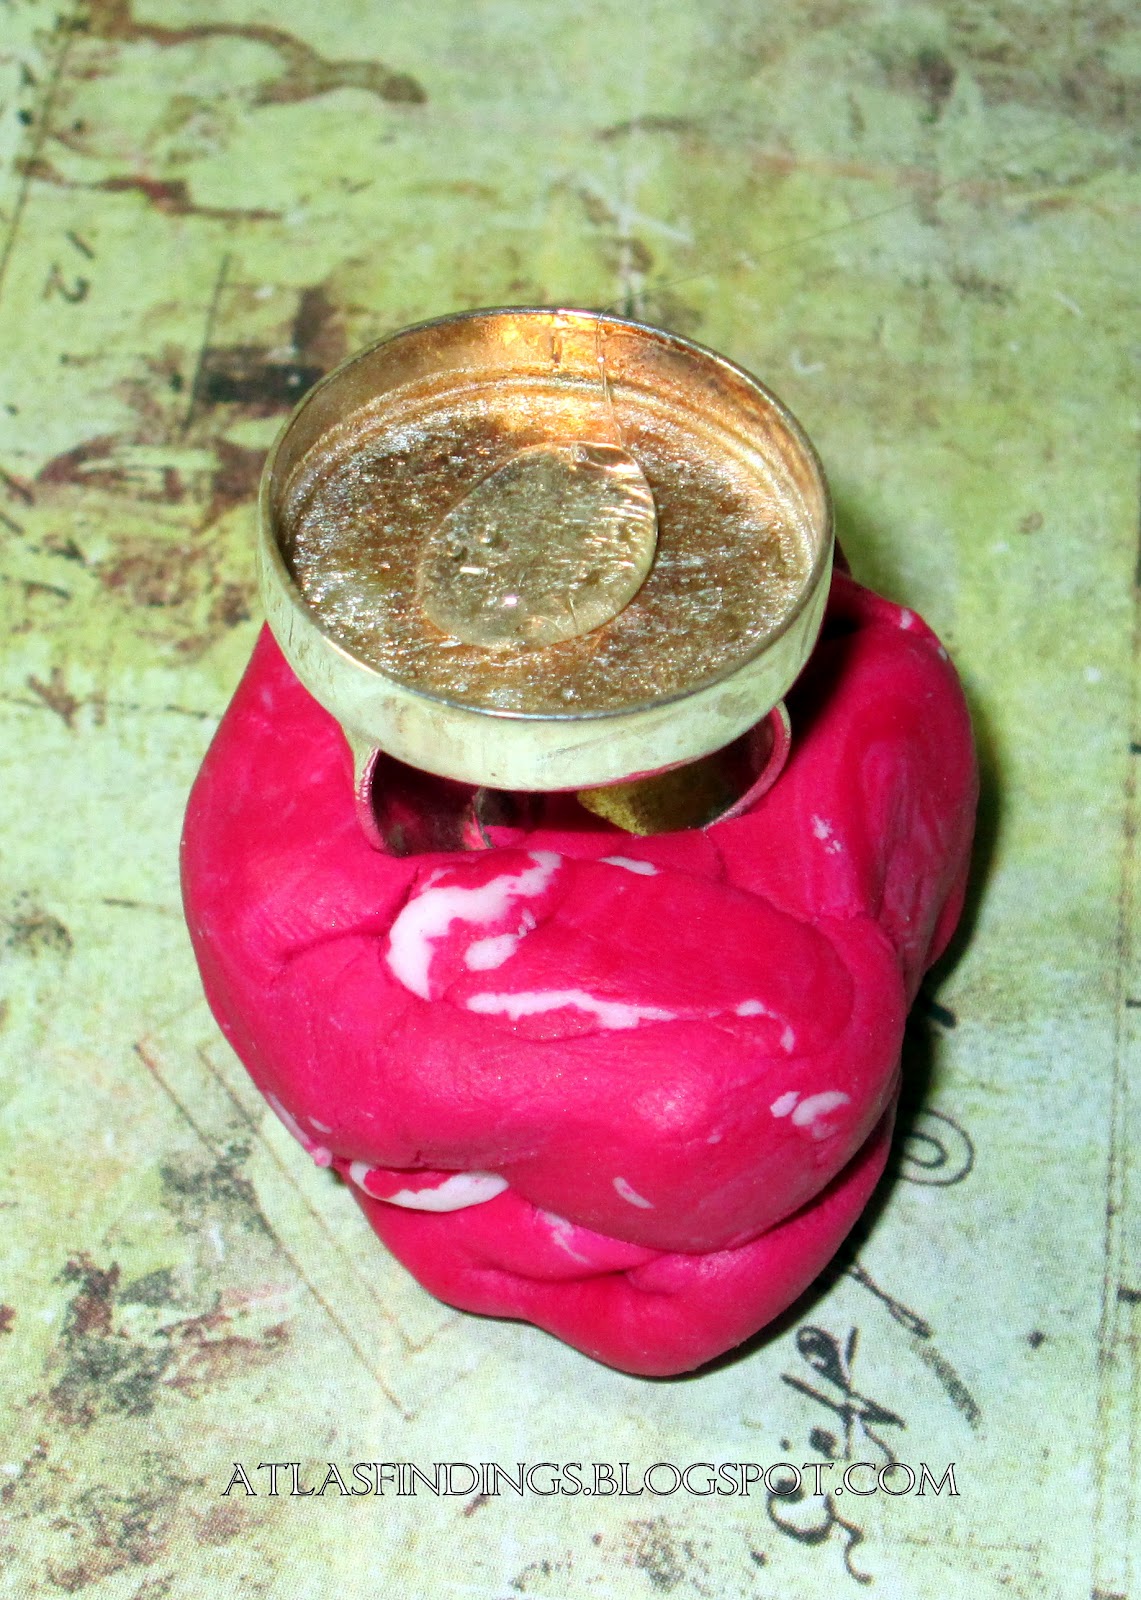
Of course I forgot to take a picture of the finished flower by itself! Now put your ring base into a glob of clay to hold the ring in place.
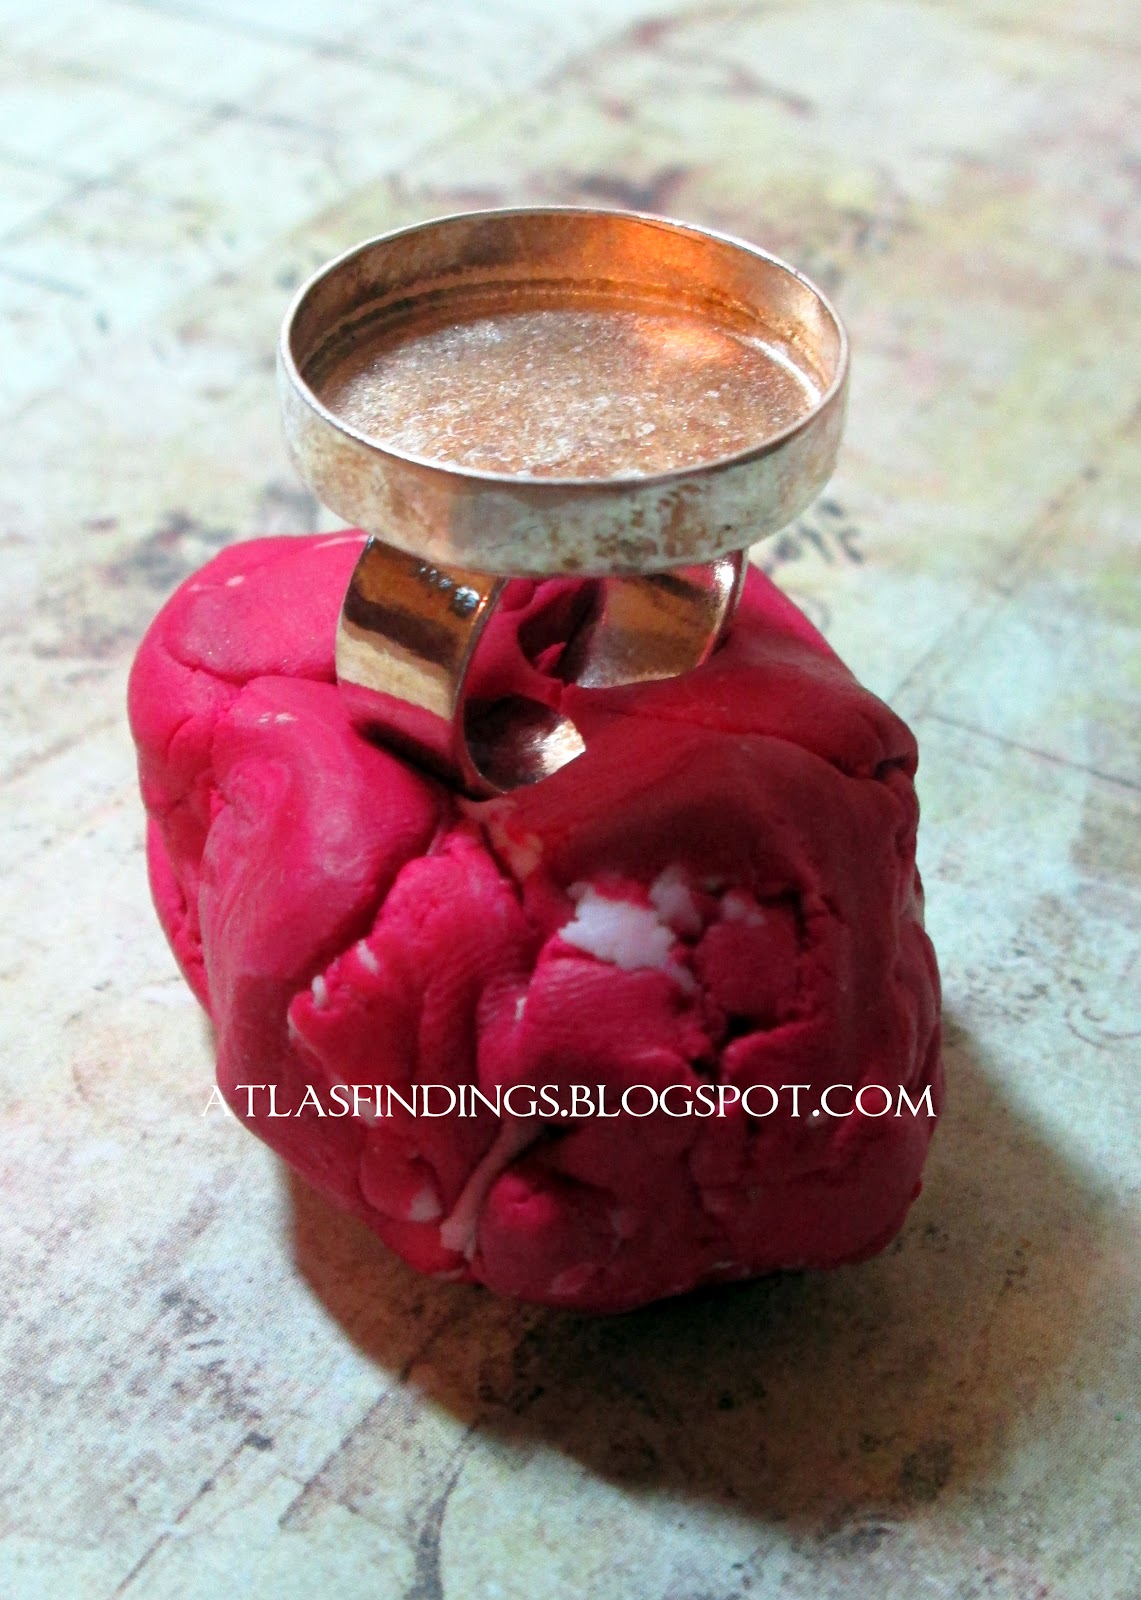
Add a large amount of hot glue to the well of the ring. Add more than what is in the picture, about 2/3 full. The more glue I added to the well the more you couldn't see it in the picture. If you fill it to full when you insert the flower the glue will overflow. Then insert the flower into the ring and press gently and hold in place for a minute to let the glue start to harden.
The ring.

The bracelet.

The ring and the bracelet.

I love how these turned out! They will go with so many outfits. I will probably make a few more in other colors. I am eyeing a turquoise zipper right now!